How to use a vernier caliper
On this page
Using a vernier caliper well is mostly about the minute before you read it: a clean, zeroed instrument, the part held square between the right faces, and a light touch. This guide takes you through each step, shows how to take all four kinds of measurement, and ends with a complete lab record of the kind a physics practical asks for.
How to use a vernier caliper, step by step
Clean the jaws and check the zero.
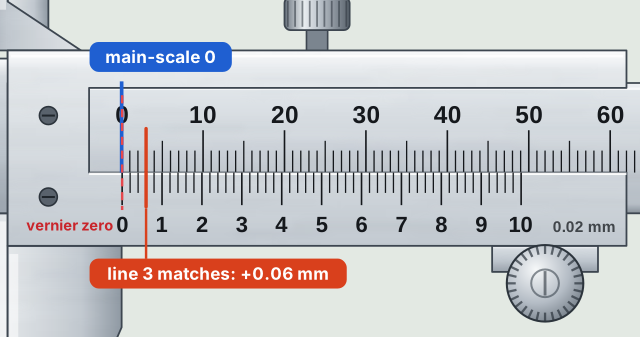
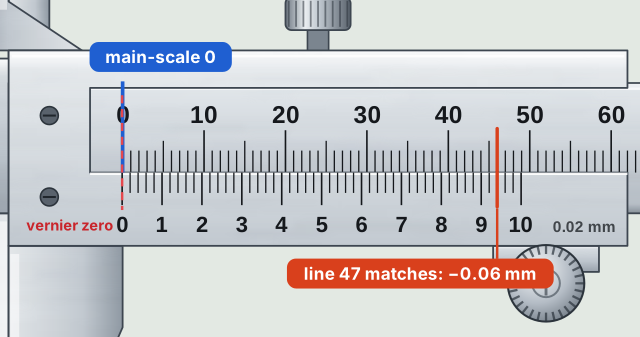
Wipe the measuring faces, close the jaws gently and check that the vernier zero sits exactly on the main-scale zero. If it does not, note the zero error with its sign.
Loosen the locking screw.
Loosen it fully so the slider moves freely without wearing the beam.
Open the jaws wider than the part.
Slide the jaw open a little more than the size you expect.
Place the part and close the jaws gently.
Put the part well inside the jaws, not at their tips, and roll the thumb wheel until both measuring faces just touch. Do not squeeze.
Keep the caliper square.
Hold the beam square to the part. Rock it slightly: for an outside size keep the smallest reading; in a round hole keep the largest across the hole and the smallest along it.
Lock the slider.
Tighten the locking screw so the reading cannot change, and lift the caliper away if you cannot see the scales where it is.
Read the scales.
Look straight down at the scales. Reading = main scale reading + (matching vernier line × least count).
Correct for zero error.
Corrected reading = scale reading − zero error. A negative zero error ends up being added.
Record and repeat.
Write the reading down to the least count, then measure again at two or three other places and take the mean.
Clean and store the caliper.
Loosen the screw, wipe the caliper, and store it in its case with the jaws slightly open.
Step 7 is covered in detail in the guide to reading a vernier caliper, and the least count that goes into it in the least count guide.
Check the zero first
With the jaws clean and gently closed, the vernier zero should sit exactly on the main-scale zero. If a vernier line other than 0 and the last one lines up, the caliper has a zero error, and every reading it gives is off by that amount. Find it with the same matching-line rule as a reading: a line near the start of the vernier means a positive error, a line near the end a negative one.
Outside measurements
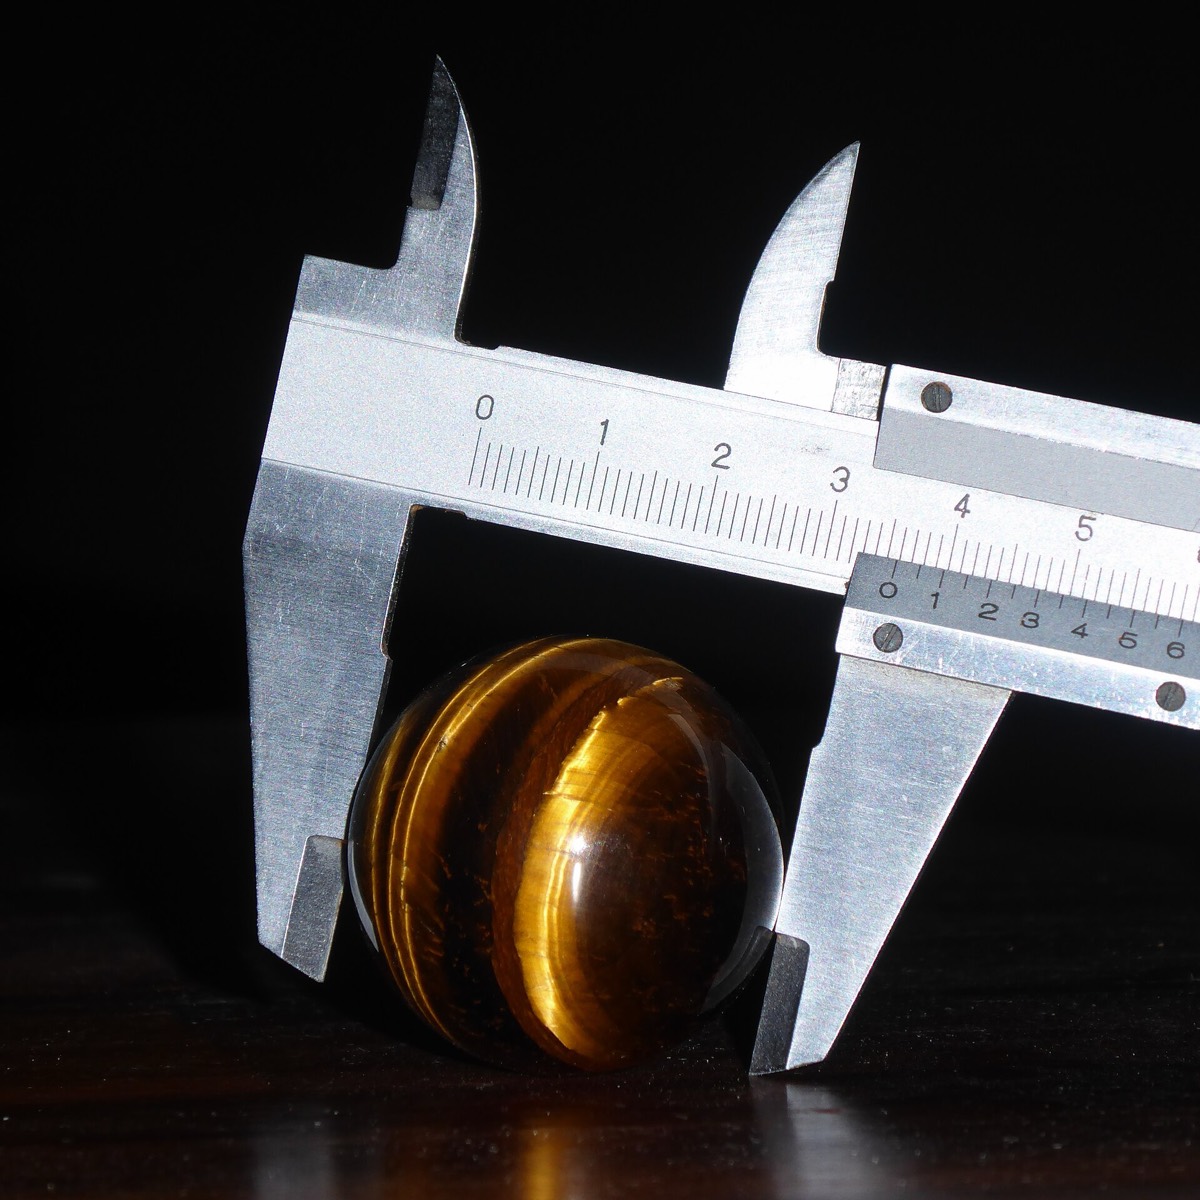
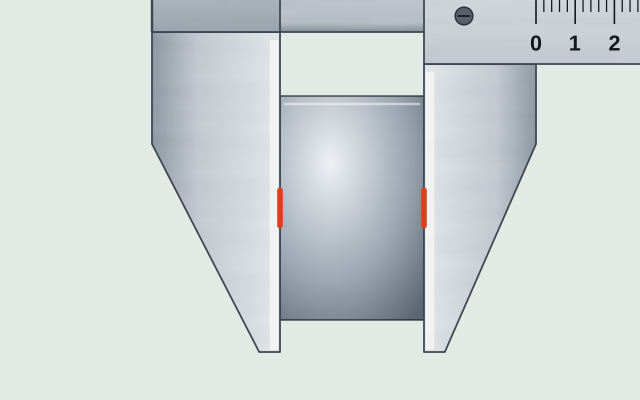
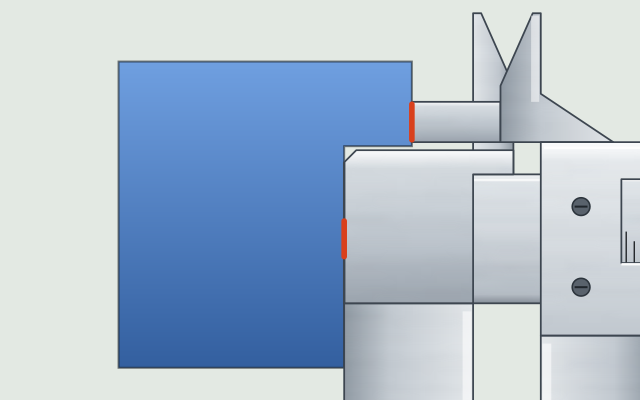
Use the large lower jaws for a thickness, a width, or the outside diameter of a rod, tube or ball. Put the part well inside the jaws, not at their tips, so it cannot rock. Close them until both flat faces touch, then rock the caliper very slightly and keep the smallest reading, which is the one taken square to the part.


Inside measurements
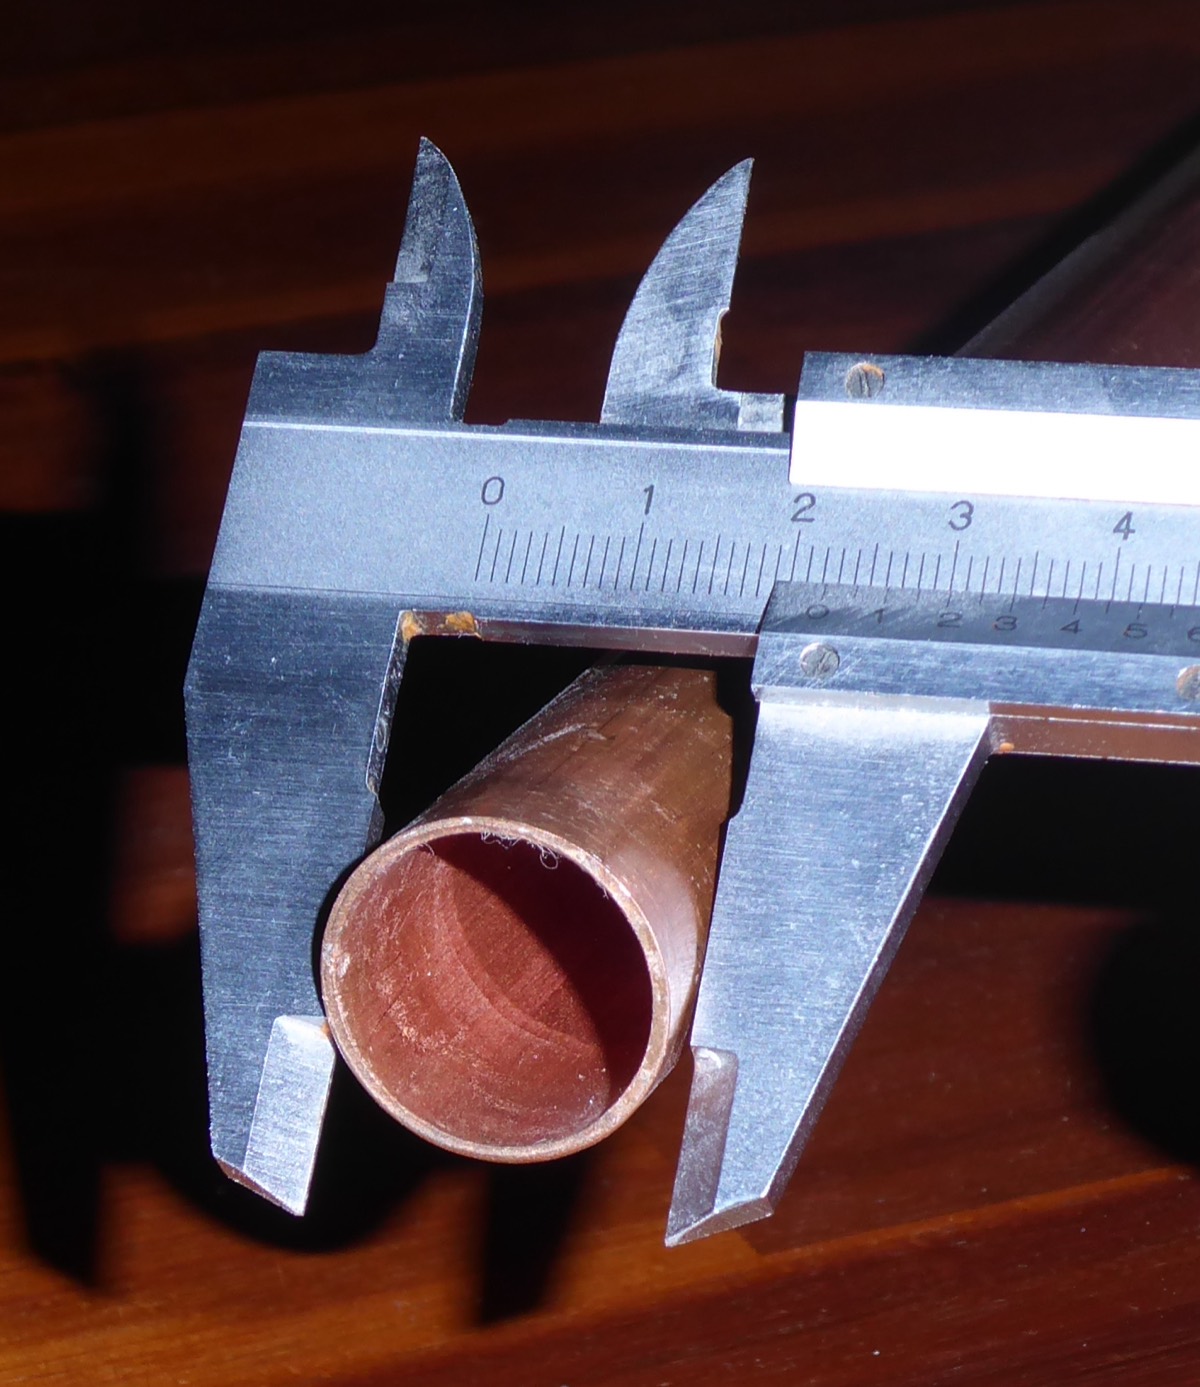
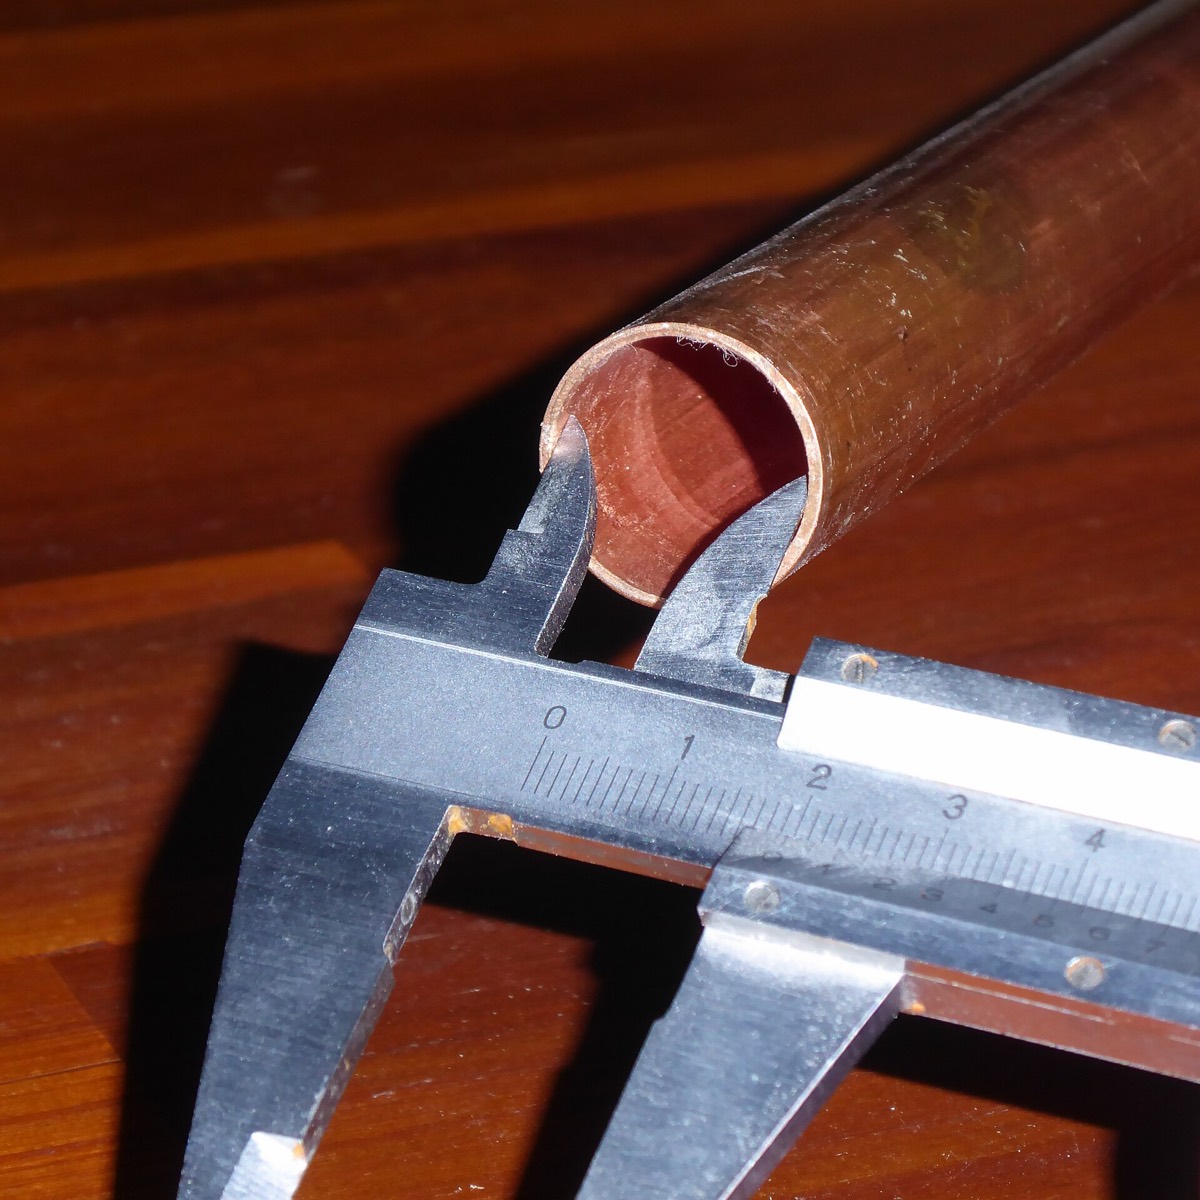
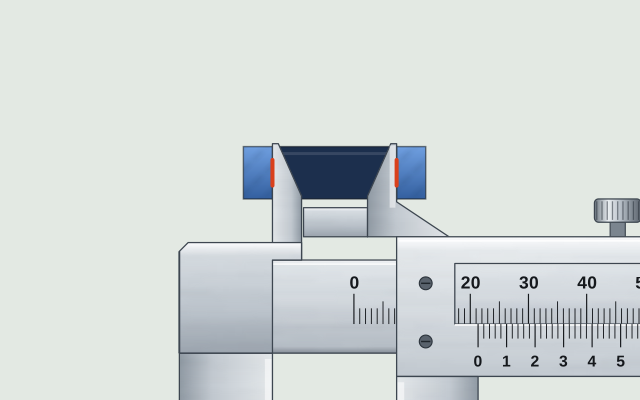
Use the small upper jaws for the inside of a hole, a tube or a slot. Put them in, open them until their outer edges touch the walls, and move them slightly across a round hole: keep the largest reading, because anything smaller is a chord, not the diameter. Then rock them slightly along the hole’s length and keep the smallest, because jaws tilted along the bore span a slanted, longer line. In a slot, keep the smallest reading, as for an outside size.

Depth measurements
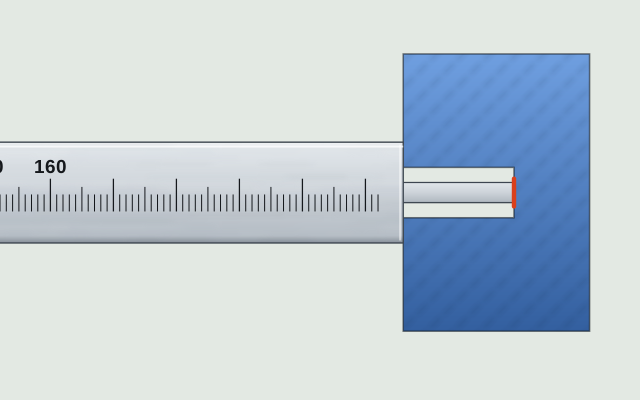
Rest the end of the beam flat on the top surface beside the hole, then slide the jaw until the depth rod touches the bottom. Keep the beam upright and pressed flat: if it leans or lifts, the caliper reads too deep. The rod moves exactly as far as the jaws open, so the depth is read on the same scales.
Step measurements
To measure the height of a step, rest the end face of the beam against the lower surface and slide the jaw until the end face of the slider meets the upper surface. Keep both end faces square to the step.
Worked lab example: volume of a sphere and of a beaker
A common school practical uses a vernier caliper to find the diameter of a small sphere and the inside diameter and depth of a beaker, and from them their volumes. Here is a complete record, taken in the simulator on a 0.02 mm caliper with no zero error. You can measure the same ball and the same beaker yourself.
Diameter of the sphere
| Reading | Main scale (mm) | Matching line | Line × 0.02 (mm) | Diameter (mm) |
|---|---|---|---|---|
| 1 | 15 | 44 | 0.88 | 15.88 |
| 2 | 15 | 45 | 0.90 | 15.90 |
| 3 | 15 | 43 | 0.86 | 15.86 |
Mean diameter d = 15.88 mm, with an uncertainty of ± 0.02 mm (the larger of the least count and half the range of the readings). Radius r = d ÷ 2 = 0.794 cm.
V = (4/3) π r³ = (4/3) × π × (0.794 cm)³ = 2.0968 cm³
The uncertainty in V: percentage uncertainty in d = 0.02 ÷ 15.88 × 100 % = 0.126 %. r = d ÷ 2 has the same percentage uncertainty, and V depends on r³, so its percentage uncertainty is three times as large: 3 × 0.126 % = 0.378 %, which is ± 0.008 cm³. Rounding the uncertainty to one significant figure and the volume to match: V = 2.097 ± 0.008 cm³.
Inside diameter and depth of the beaker
| Reading | Main scale (mm) | Matching line | Line × 0.02 (mm) | Inside diameter (mm) |
|---|---|---|---|---|
| 1 | 47 | 10 | 0.20 | 47.20 |
| 2 | 47 | 11 | 0.22 | 47.22 |
| 3 | 47 | 9 | 0.18 | 47.18 |
Mean inside diameter D = 47.20 mm (± 0.02 mm), so the inside radius R = 2.360 cm. Depth, with the beam on the rim and the rod on the bottom: main scale 62 mm, line 17, so h = 62.34 mm = 6.234 cm, ± 0.02 mm (one reading: one least count).
V = π R² h = π × (2.360 cm)² × 6.234 cm = 109.08 cm³
The uncertainty in V: percentage uncertainties add, and R is squared, so its percentage (the same as for D) counts twice: 2 × 0.0424 % + 0.0321 % = 0.117 %, which is ± 0.1 cm³. So V = 109.1 ± 0.1 cm³.
Each result is rounded so its last digit matches the uncertainty. With a zero error, correct every reading before taking the mean: a zero error shifts all the readings the same way, so averaging does not remove it.
Mistakes to avoid
- Holding the part at the very tips of the jaws, where it can rock, instead of well inside them.
- Squeezing the jaws hard, or using the thumb wheel to force them tighter after they touch.
- Holding the caliper tilted, which makes an outside size read too large and a depth read too deep.
- Reading the scales from an angle, so that a neighbouring vernier line seems to match.
- Forgetting to check the zero, or applying the zero error with the wrong sign.
- Moving the slider with the locking screw still tight.
The common reading mistakes are listed in the reading guide.
Practise on the simulator
- Measure the ball and record three readings in the observation table, which works out the mean for you.
- Measure the beaker: its inside diameter, then switch to its depth.
- Practise measuring objects: a round of five, with feedback after each answer.
Questions about using a vernier caliper
How do you use a vernier caliper step by step?
Clean the jaws and check the zero, loosen the locking screw, open the jaws wider than the part, close them gently onto it with the thumb wheel, keep the caliper square, lock it, read the main scale and the matching vernier line, correct for any zero error, and record the reading. Repeat at two or three places and take the mean.
How do you measure an inside diameter with a vernier caliper?
Put the small upper jaws into the hole and open them until their outer edges touch the wall. Move the jaws slightly across the hole and keep the largest reading: a smaller one is a chord, not the diameter. Rocked along the hole’s length, keep the smallest: tilted that way the jaws span a slanted, longer line.
How do you measure depth with a vernier caliper?
Rest the end of the beam flat on the top surface, beside the hole, and slide the jaw until the depth rod touches the bottom. Keep the beam upright: a leaning caliper reads too deep. The depth is read on the same scales as any other reading.
How tight should the jaws be?
Just touching. Close them with the thumb wheel until both faces meet the part, then stop. Squeezing can tilt the slider, flex the jaws or press into a soft part, and every one of those changes the reading.
Why should you take several readings?
A part is rarely the same size everywhere, and each reading can be slightly off. Measuring at several places and taking the mean gives a better value, and the spread of the readings shows how certain it is.